
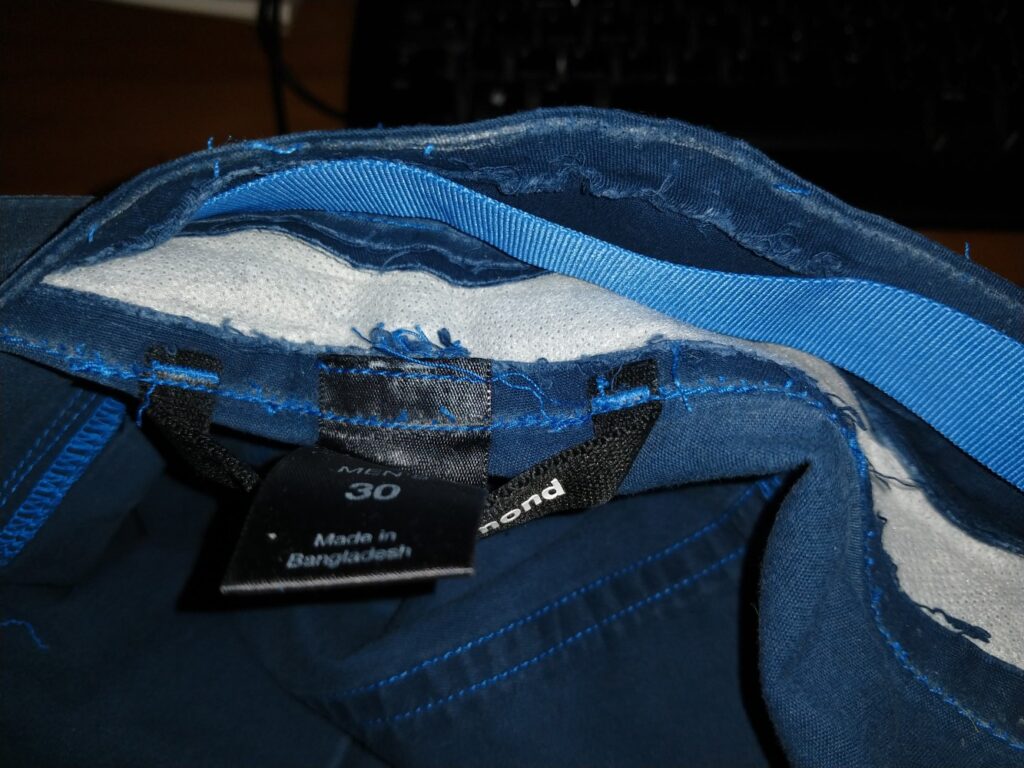
I’m finally getting around to blogging about another attempt at clothes. This time it’s a pair of climbing shorts based on a design from the company Black Diamond.
These particular pair of shorts were a bit too small for my partner, and he had ripped a hole in the seat at some point. I didn’t think I could repair them but I wanted to have a go at recreating them.
The shorts have five pockets (two on the front, two on the rear and one on the right leg), an adjustable waistband, a zip fly and a popper closure.
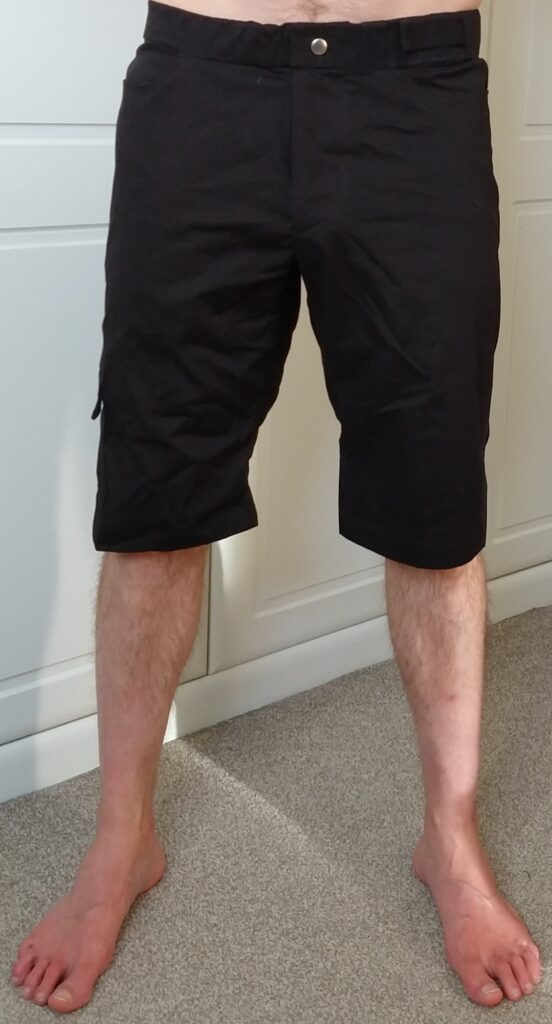
Tom models the climbing shorts 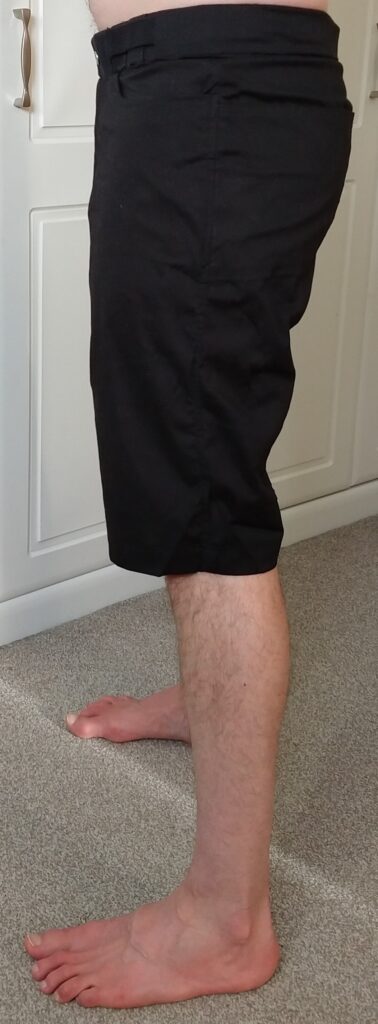
The climbing shorts from the left side 
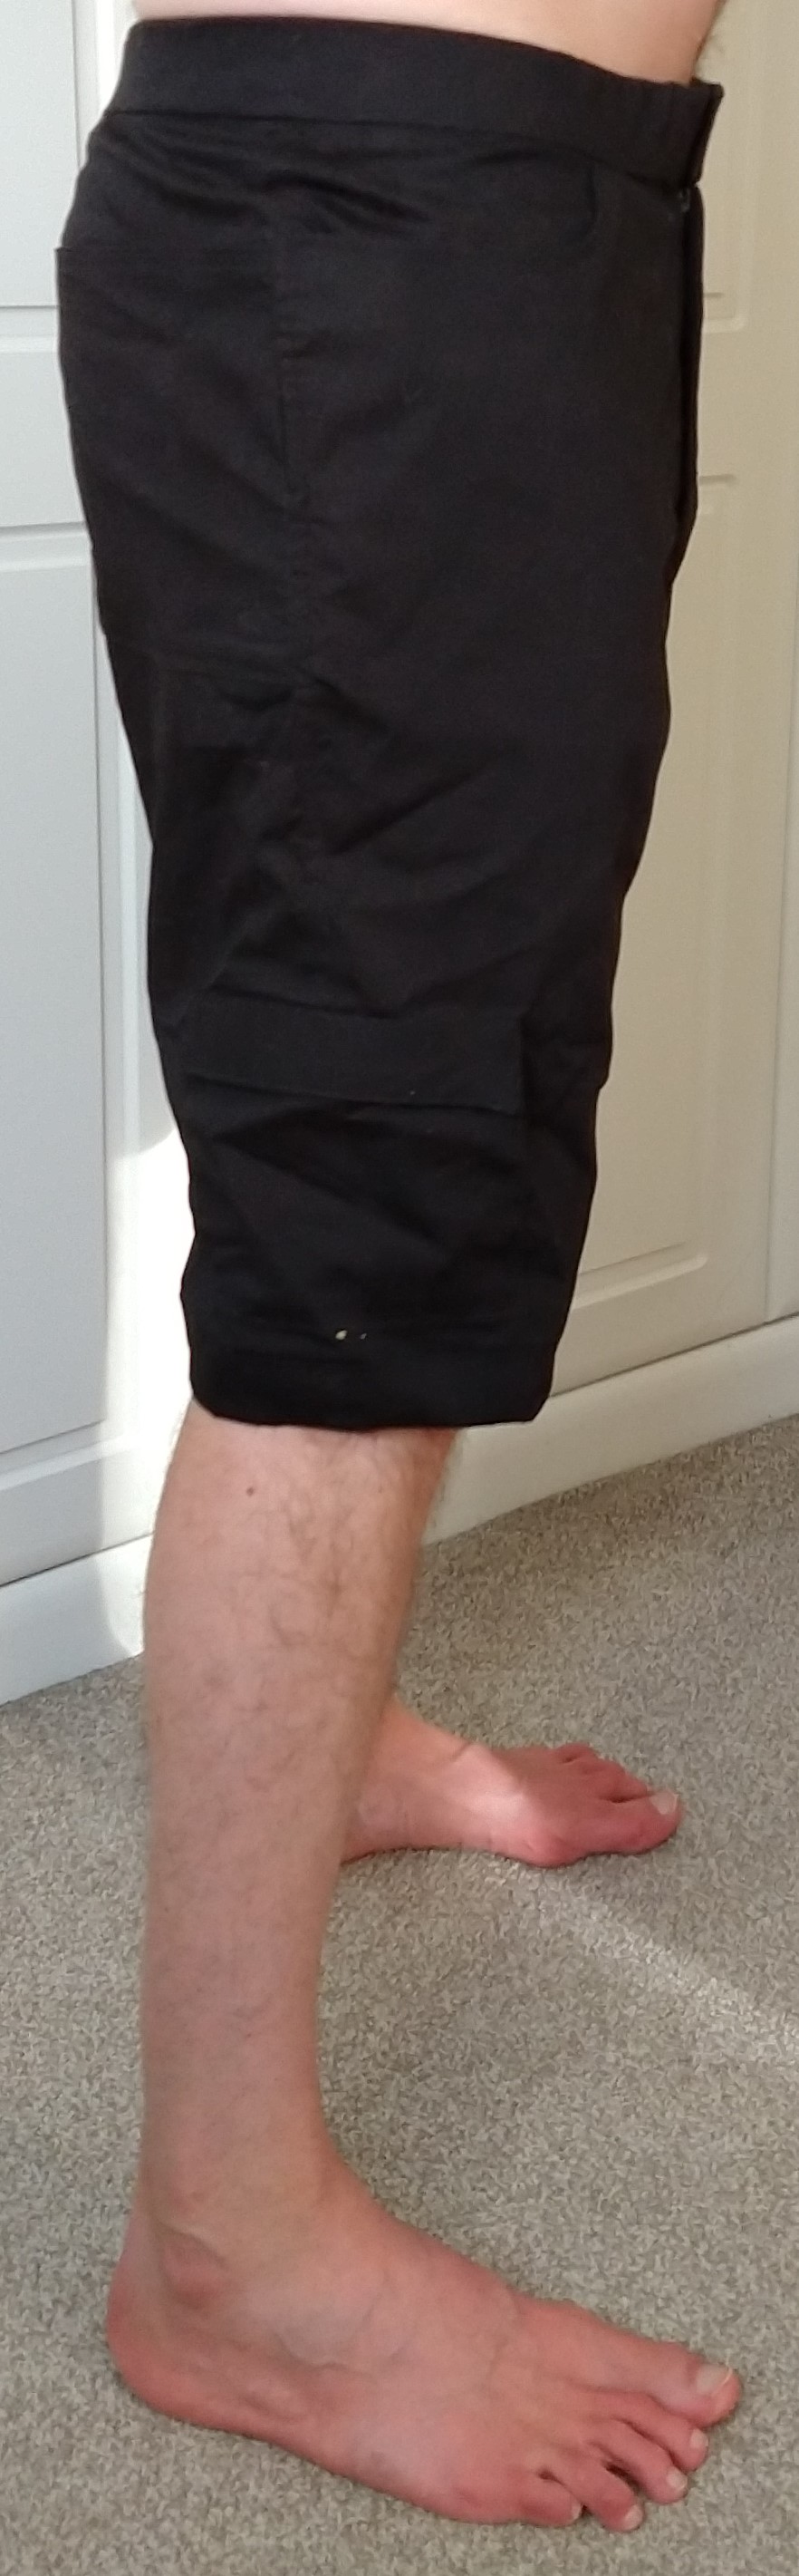
The climbing shorts from the right side 
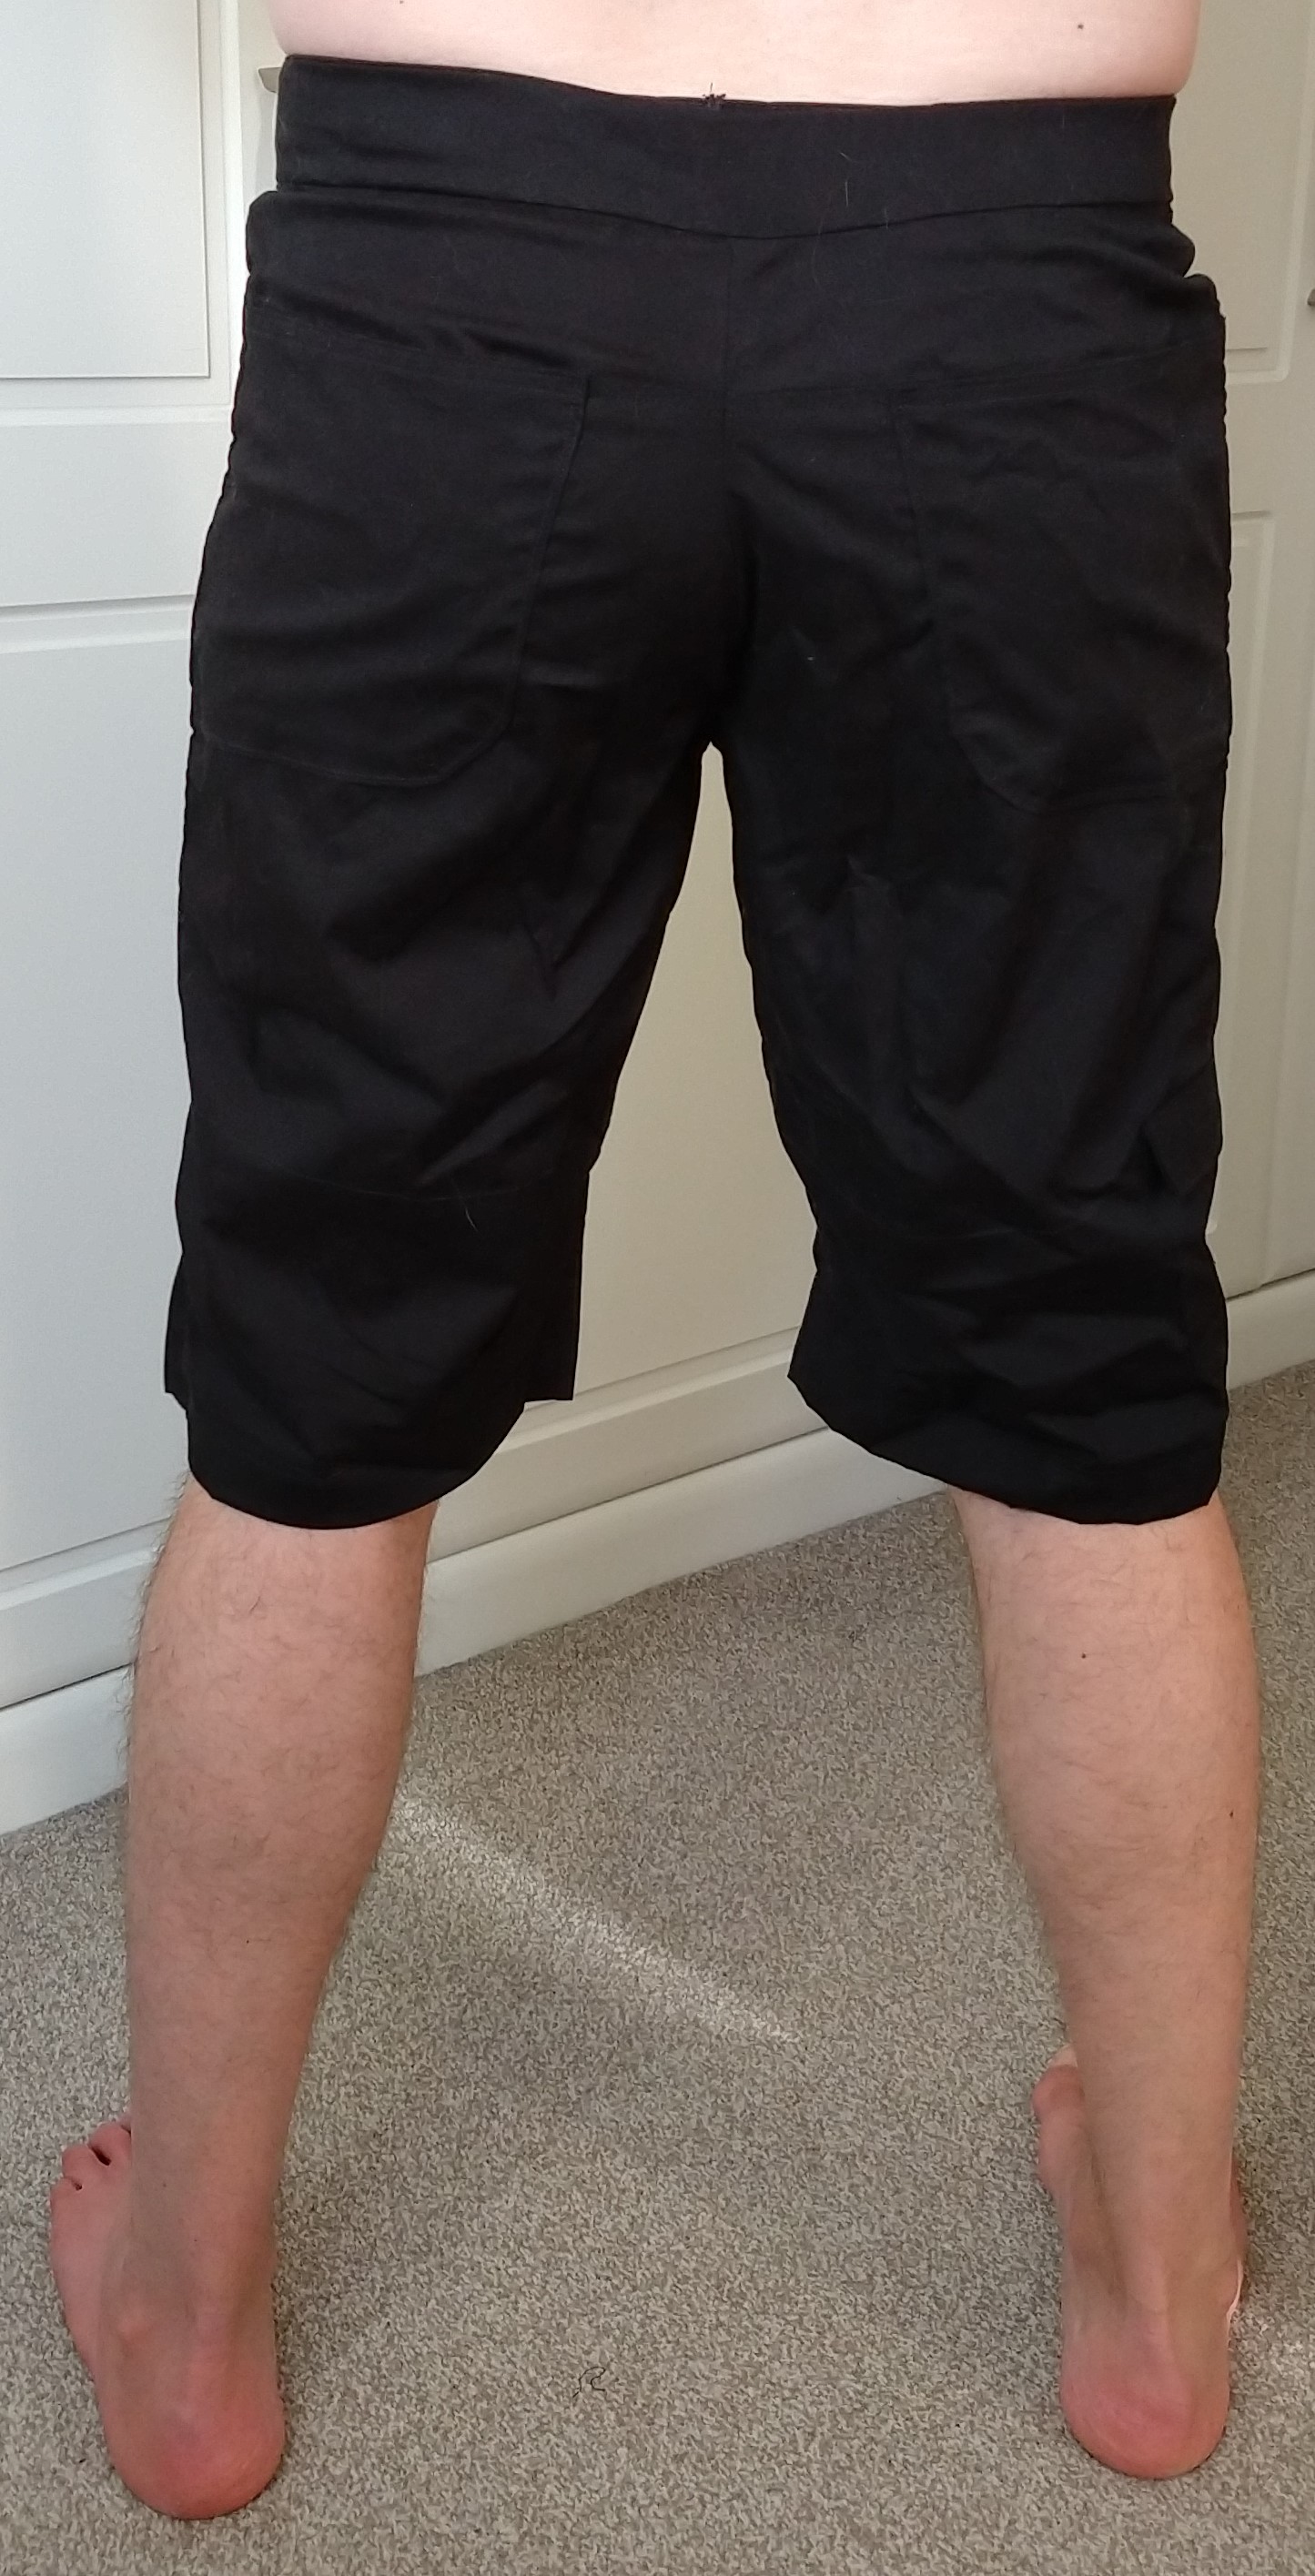
The climbing shorts from the rear


I started the process of making these back in August. It involved dismantling the shorts and photographing each step so that I could reassemble the pieces later.
With the shorts in pieces, I traced around each part on to squared pattern paper. This was difficult as the pieces had been warped from wear. I had to make a lot of guesses, particularly with the length and shape of the legs.
I also made sure to add half an inch on each of the leg pieces (front left, front right, rear left and rear right) as well as 2 inches to the waistband. This would take the shorts from a 30 inch waist to a 32.
I couldn’t find the type of hook the original shorts used for the adjustable waistband so I made something up! I planned on using two hooks from a hook and bar set (for closing skirts) to act as the hooking mechanism. I then used some canvas webbing for the lips that the hooks were supposed to grab on to. This plan meant that the waistband wouldn’t look quite the same as the original but it would still provide the same functionality.
I made a mock up out of old bedsheets to test I had everything right, using this stage to write up some instructions for myself so that I could recreate the shorts in the actual fabric (a black stretch cotton poplin from Minerva Crafts).
The first mock up didn’t fit so well. It was very large and I think I must have added an inch to each piece rather than a half inch. There were also some fit issues in the waistband and crotch seam.
I made some adjustments to the pattern, removing the excess fabric caused by my maths failure, and had Tom try them again. Still no dice. The fit issues were quite severe so I didn’t think they would be fixed by the slight stretch in the fabric I would be using which the bedsheets for the mock up did not have.
I then looked at a pair of Tom’s other Black Diamond shorts to try and figure out why it didn’t fit. These shorts were of a slightly different design though. They had an extra piece in the crotch to allow for more movement (very handy when maneouvering into odd positions on the climbing wall). I adjusted my pattern to include this additional piece and made a third mock up.
Feedback was more positive this time, but there were still fit issues. I adjusted the pattern again, making the new pattern piece that I had added before a little larger.
A fourth mock up made and Tom was much happier with the fit. I proceeded to the main event.
Final Thoughts
Things to improve
Although the waistband works well, and can be adjusted for a better fit it could do with some improvements.
Firstly two of the canvas pieces that I used for the hooks to grab on to were cut a little too short and so the bottom edges are visible (circled blue in the image).
Another slight issue is that there is some unflattering bunching if you do use the canvas strip to adjust the waistband. This is remedied by moving the shorts around but if you forget to do that the shorts can look a bit odd.
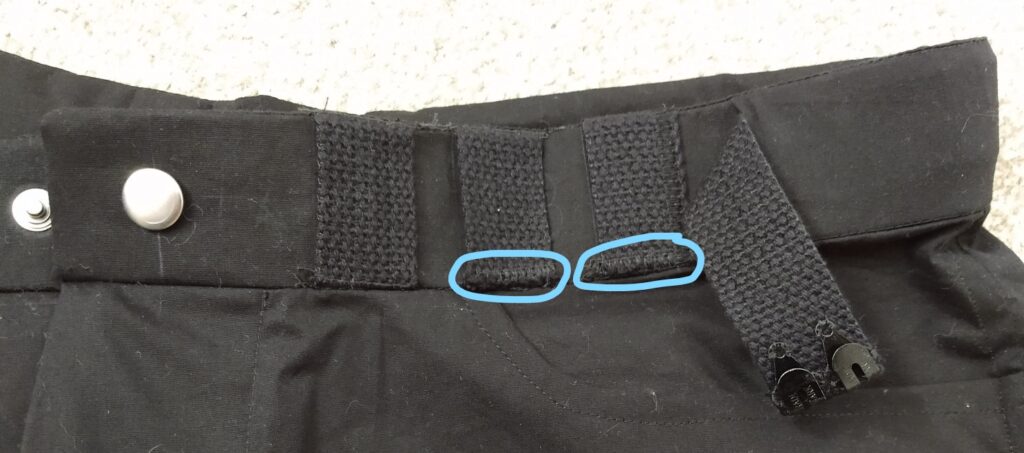
Another item that is visible in the waistband image is the position of the button. I think I should have placed this further to the edge of the waistband, or at least used a larger button. It doesn’t look in proportion to the rest of the garment.
Speaking of the button, the popper on the underside is a little loose. I need to add more interfacing to that area if I were to make these shorts again (and I have some camel colour fabric to do just that – though, perhaps when I’ve forgotten how time consuming it was to put these shorts together).
Earlier I talked about an extra piece in the design of Tom’s shorts: this is that piece. This triangle facilitates so much extra movement and you cannot actually see it when the shorts are worn.
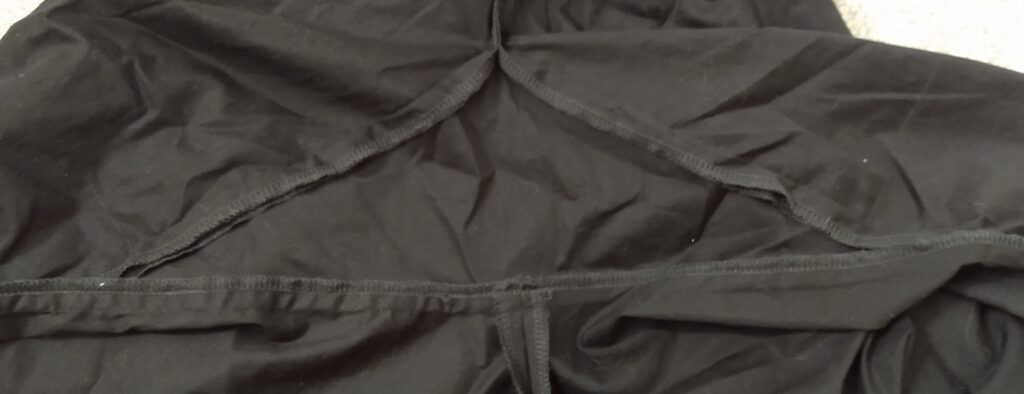
The point of the triangle is at the rear of the shorts, and the opposite edge runs along the inside leg seam.
There’s nothing wrong with this piece per say, but I did notice that the rear leg pieces came up short when I sewed the inside leg seam. I’ll either need to adjust this triangular piece, or add some additional length on to the rear leg pattern piece to accommodate this.
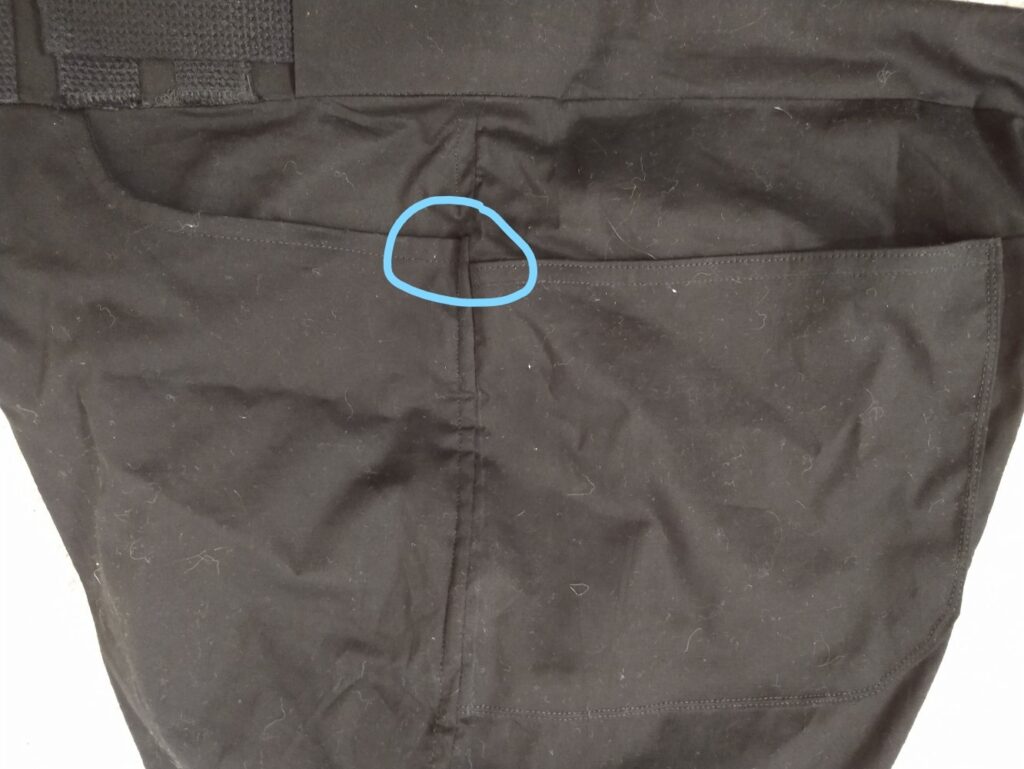
I would have liked the rear and front pockets to line up better (circled blue in the image). On the original these two pockets were perfectly inline.
More accurate measuring is needed in future to fix this – and perhaps more patience.
The original shorts used a thicker fabric so I think I should try that if I attempt these again. It doesn’t have to be thicker by much, but I think even a tiny bit would help. With the current fabric these are great shorts for summer, but not as suited for cooler autumn nights.
Things I don’t like
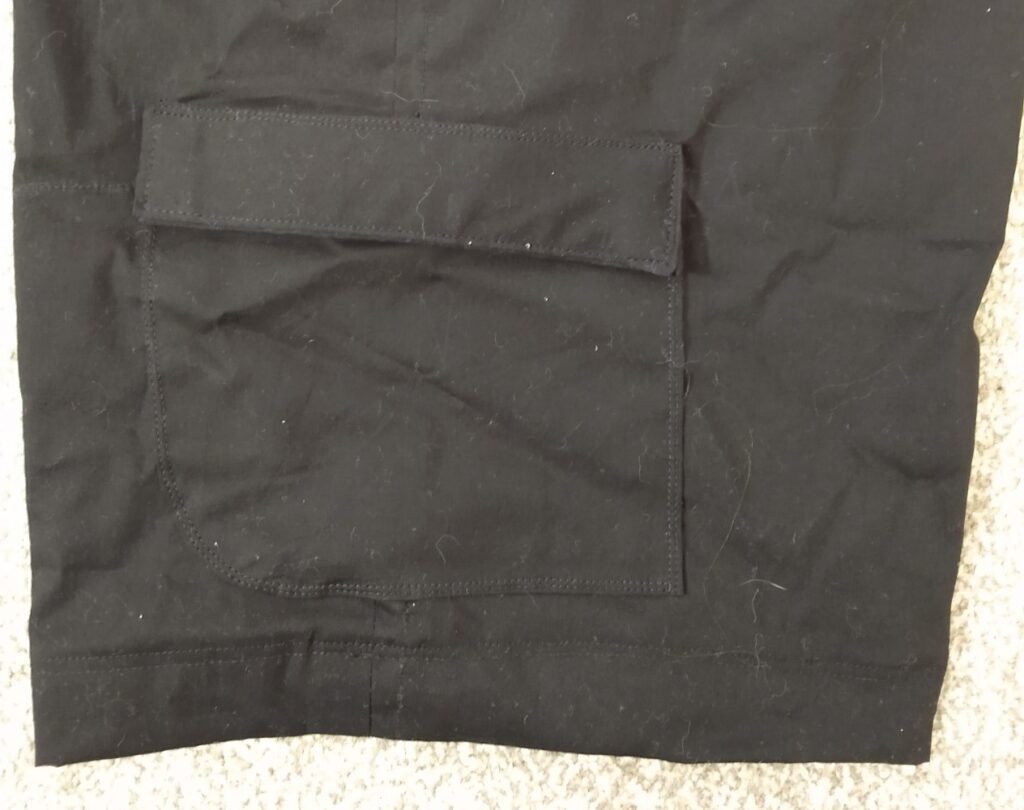
The position of the leg pocket is just too low – it’s far too close to the hem. I should have moved it up a bit more, perhaps by an inch or two.
I also don’t like the pocket flap. I’d interfaced it with some medium-weight interfacing and it just feels far too different to the pocket itself. A lighter interfacing would be better.
Things I like

In particular I’m pretty pleased with the zip. It’s the first time I’ve made a fly closure and it looks so good! It was a little bit of a brain teaser to figure out, but once I had the process written down it went without issue!
And overall I’m just so pleased with the shorts! They look so good on Tom and for all my nit-picking you wouldn’t be able to tell unless you were a seamstress.
I was really worried they would look odd or that he wouldn’t like them but I shouldn’t have been. My skills are coming along with every piece I make.
They look fantastic and I’m so proud of them.